Ahh lavender… the scent immediately makes me happier and calmer… It transports me back to Provence where our B&B hostess gifted us with lavender sachets that still smell heavenly years later. Little did I know then that I would be growing and drying lavender of my own and making dozens of my own lavender sachets! In this post, I’ll show you how to harvest and dry your own lavender that you can use in so many different ways! For example, dried lavender sachets make the best DIY gifts for birthdays, holidays, Mother’s Day or any special occasion. The scent of lavender is beloved around the world and is known for its healing and calming benefits!
* This blog post may include affiliate links. Learn more about my affiliate & cookies policy here. Thank you for supporting this flowery blog! 💛🌸🌿
Tools + Materials Used
- Drawstring cotton sachets
- Gardening/floral scissors – I love these Japanese ones!
- Twine
- Mason jars
- Vacuum cleaner – they can get messy!
These are all available from Amazon with super-fast Prime delivery!
Growing Lavender for Cutting
Grow Lavender in the Garden
Growing lavender is super easy. They’re an easy-care and low-water use plant, they look great and they smell AMAZING when they’re in bloom! If you’re lucky enough to have a garden at home, or even a small patio where you can have a few potted plants, I definitely recommend that you plant some lavender so that you can have buds of your own to dry. An added bonus is that butterflies and bees love them!
We have about 22 English lavender plants in our front yard that fill us with delight every summer with their beautiful blooms and amazing scent. We planted our lavender when they were tiny and within a year, they were pretty big and produced lots of flowers for harvesting. In fact, they produce more flowers than we can possibly harvest each year. The only downside is that they need to be cut back every year, otherwise they would be huge! Pro tip – make sure to plant them at least three feet apart to allow for growth.
Grow Lavender in Pots
Another option is to grow Lavender in pots or containers. I’ve seen small lavender plants for sale at Trader Joe’s that you can transplant into a larger pot or container at home. They should also be readily available at nurseries in late Spring or early Summer. Make sure to use a large enough pot to allow for rapid growth. I recommend at least a 12-16″ pot with a hole in the bottom for drainage. Lavender plants like a lot of sun, so be sure to place them somewhere they can get direct sunlight for at least 6 hours a day.
Types of Lavender to Grow for Drying
Lavender comes in many varieties and they’re all beautiful. English lavender (Lavendula angustifolio) contains more oils than other varieties, and are the most commonly used variety for making essential oils, aromatherapy and bath products, as well as for culinary purposes. Other common types of lavender include French and Spanish lavender. We have 5 varieties in shades of purple, magenta and white and we love them all! We only harvest the purple English lavender for drying though.
By the way, if you love flowers as much as I do, you might be interested in my post on the Most Beautiful Flower Books – it’s one of my most popular posts!
The Best Time to Harvest Lavender
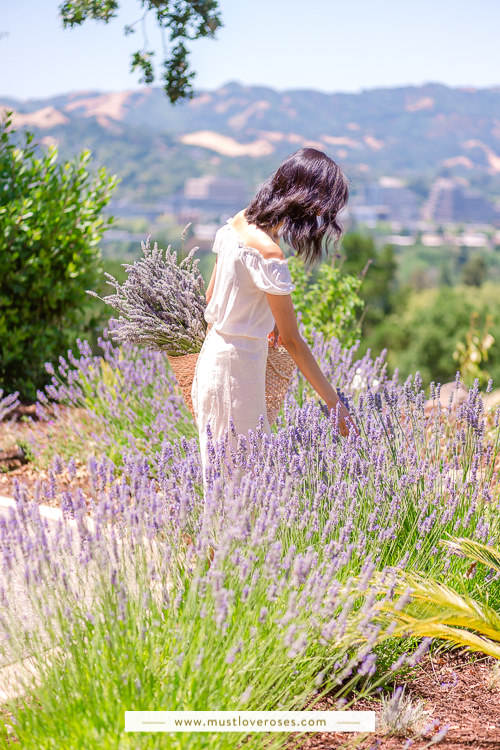
Lavender is fairly easy to harvest and dry – there are just a few guidelines to remember. The most important is timing. You’ll want to cut and harvest the stems when the buds are formed, but before they open (before the flower petals come out). Harvesting them at this stage is best because that’s when their scent is strongest. For my plants in the S.F. Bay Area, that’s usually in June. In other areas it may be July or August. I usually wait until a few buds have flowered, but the majority of them haven’t. I look for the ones with large, plump buds.
On days that you harvest them, try to cut them in the mid-morning when the plant is completely dry from any morning dew, but before the day gets hot. Strong sun rays and higher temperatures make the fragrant oils evaporate, so cutting them before the hot summer sun is out helps to preserve the aroma.
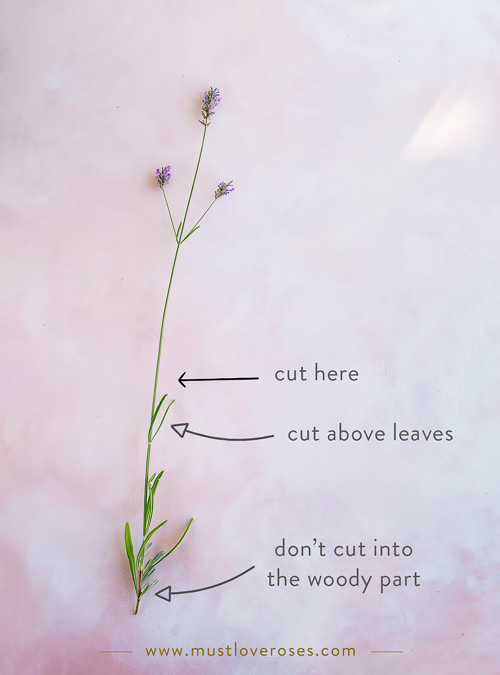
How to Cut Fresh Lavender
When cutting the lavender stems, aim to cut them an inch or two above the bottom leaves. This way, you’re also pruning the plant and protecting the plant to continue growing throughout the season by leaving the leaves intact. If you plan to do a separate pruning of your plants at the end of the season, then you can cut them shorter (higher up), which makes them easier to handle. Make sure to not cut into the thick woody part as this can hurt the plant.
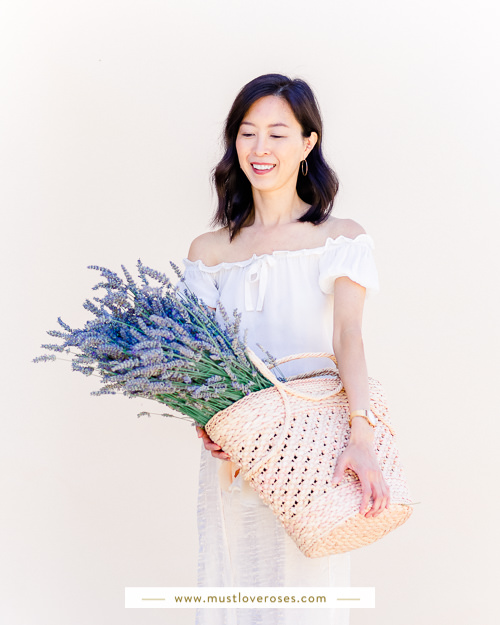
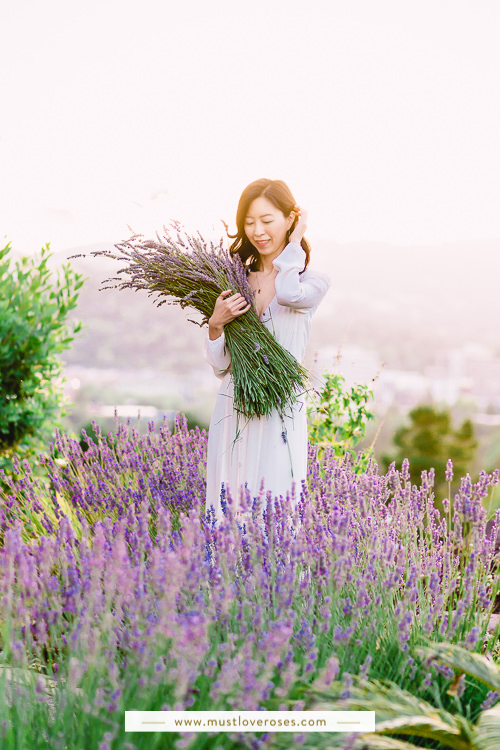
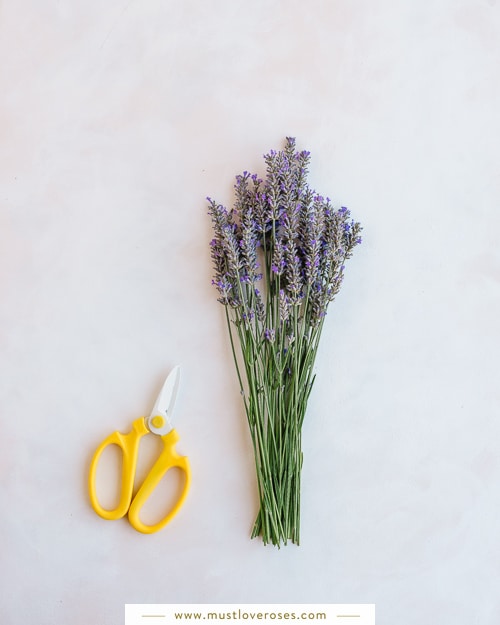
I usually gather a small bundle, about 8-10 stems, and cut them together to save time. Try to group the stems by length and by strength for easier bundling. The stems in the middle of the lavender bush tend to be the strongest and the longest, so I usually group those together. Since I have so many plants, I also try to focus on the ones with the largest, plumpest buds. You can either place them on the ground or in a basket while you continue cutting. When I’m working with a lot of cuttings, I usually lay down a large canvas cloth or old curtains inside the house while I work on trimming and tying them together.
It’s important to use a sharp pair of scissors when cutting the stems since an incomplete cute can damage the plant. I love these Japanese floral scissors – they’re very sharp, strong, smooth and so comfortable to hold with gloves. They’re also so easy to wipe clean after cutting flowers.
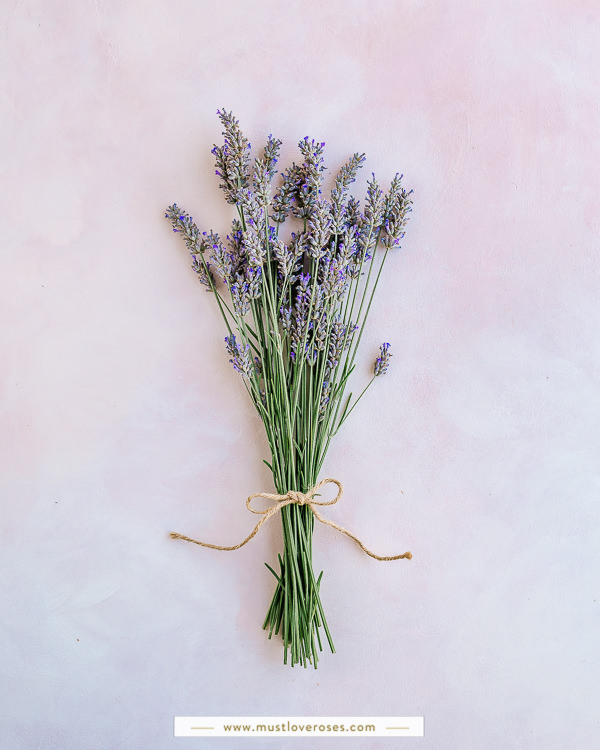
Gather Lavender in Small Bundles for Drying
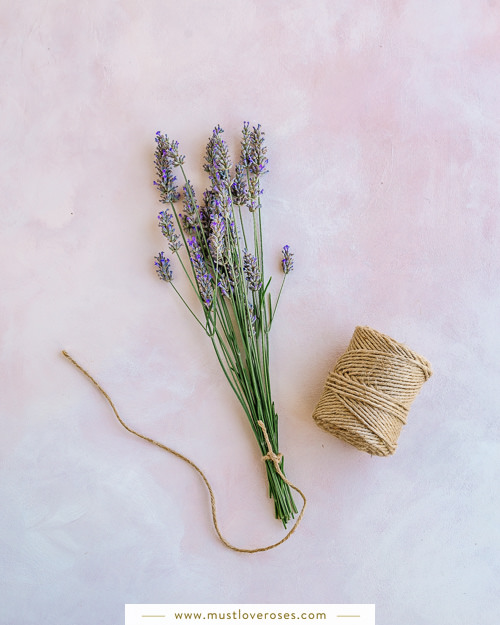
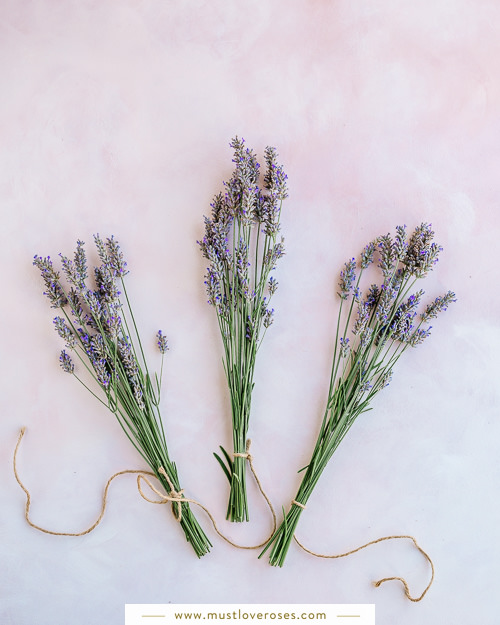
After cutting the stems from the plant, you can trim them a bit shorter if they’re very long and also tidy up your bundle to make them easier to handle. Gather them into small bundles for drying. I usually tie no more than 20 stems together. Having more will make it harder for air to circulate while drying and may lead to mildew or mold. In addition, smaller bundles are just easier to handle after they’re dried.
You can then tie the bundles together with a piece of twine that can be reused year after year. Twine is also so much easier to remove than rubber bands. I cut my twine around 16 inches long. Make sure to tie the twine tight enough so that the stems don’t fall loose. I use a simple double knot that works well. I then tie the other end of the twine to the drying bar, hook, line etc. You can find twine at many places such as Amazon and Target.
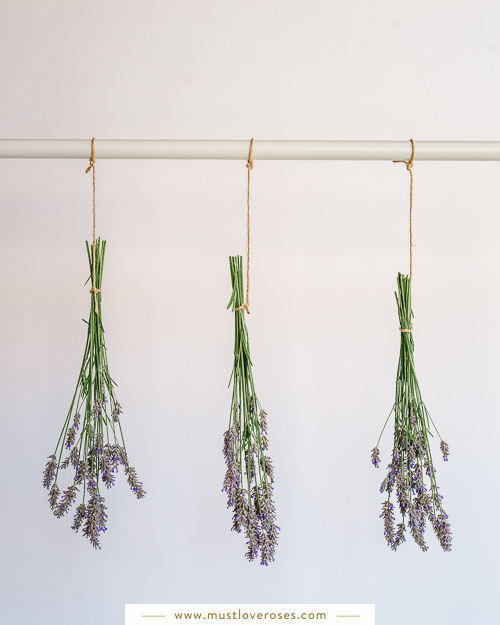
How to Dry Lavender
Once you have your small bundles of lavender tied together, it’s time to dry them! Hang them upside down from a string in a cool dark place away from direct sunlight if possible. This will help preserve the purple color and avoid evaporation. You can tie and hang the bundles from any bar, rack, knob or string. Some buds may fall while drying, so try to hang them in a place that’s easy to clean. Leave the bundles alone for 3-4 weeks to completely dry before extracting the buds for use.
I hang them from clothing racks, unused guest bedrooms and bathrooms, storage rooms, on a string in the garage… pretty much anywhere I can find room! When I run out of places to hang them from, I simply stick them into small vases, buckets or containers to dry in areas without direct sunlight. Make sure there’s enough space separation between the bundles so that they don’t get tangled together and have enough air circulation. Note that the stems may bend while drying if they’re not upside down. You can also hang them outside in a shaded, protected area if that’s available.
If you plan on using them for decoration as small bouquets, you’ll want to hang them upside down right after you cut them to keep the stems straight. If you’re only planning on using the dried buds to make sachets, you don’t necessarily have to hang them upside down.
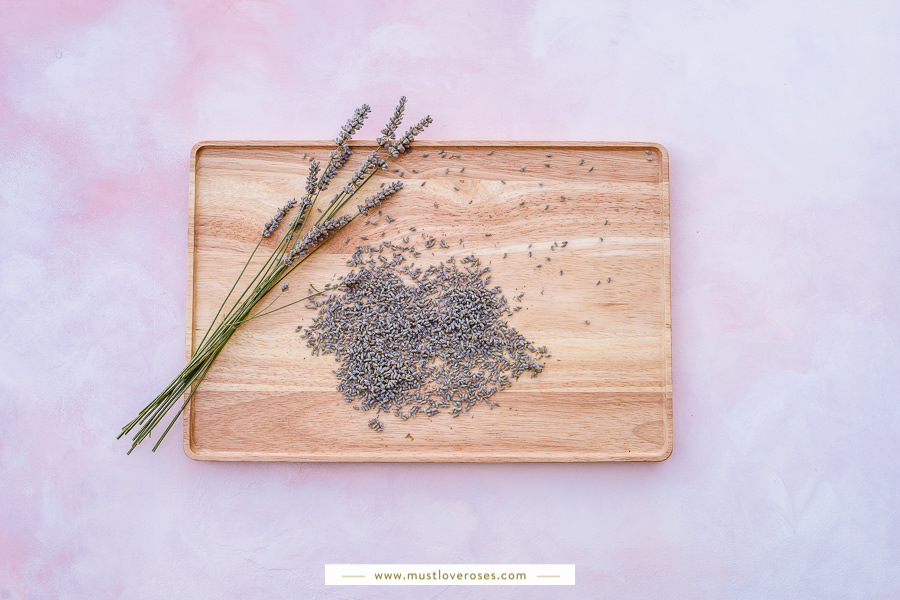
Extracting and Storing The Lavender Buds
After the lavender buds are completely dry, it’s time to harvest the buds for use. Be warned that this step can get quite messy! Make sure to work in a dedicated space and have a vacuum cleaner ready for clean-up afterward. We recently purchased a super light-weight convertible Dyson vacuum cleaner and love it sooo much! I also recommend working in a well-ventilated area, or even outdoors if possible since the scent of lavender can be quite intense indoors when you’re working with a lot of them.
Take care when you’re handling them after drying – there may be a good amount of fallout of dried brown plant bits. Make sure to not tangle the bundles together – this will create an even bigger mess! The first thing I usually do is to carefully take a few small bundles outside and give them a good shake to remove any loose brown bits. I do this because I want mostly lavender buds for use and the dried brown bits are hard to separate from the buds once they’re extracted. Don’t worry – the buds are hardy and won’t come off easily with a little shaking.
I then take them to a table with a tray and start running my fingers over the buds to remove them. They should come off pretty easily. Once I’m done with a few bundles, I pour the buds into wide-mouthed glass jars. Mason jars are perfect for this! I fill the bottles to the top and cap them immediately and store them in a dark closet until I’m ready to use them. The glass jar with the snap-tight lid in the picture below is from Ikea.
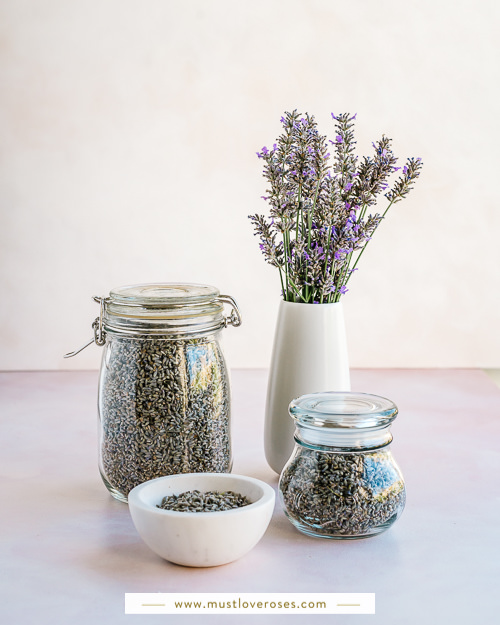
I put the harvested stems into a large paper bag for composting afterwards.
There you have it! With just a little work and some patience, you’ll easily have several jars of fragrant lavender buds to use!
How Long Do Dried Lavender Stay Fragrant?
If harvested at the right time and properly dried and stored, the lavender buds should stay fragrant for years! If you find the scent fading after the first year, simply rub them together lightly to release more oils from the buds to refresh the aroma. I personally have lavender sachets over 8 years old that still smell amazing and have unused buds from my own harvests several years ago that still smell great!
Lavender Buds & Sachets
Love lavender sachets but short on time? Here are some dried lavender buds & sachets for purchase that you may like!
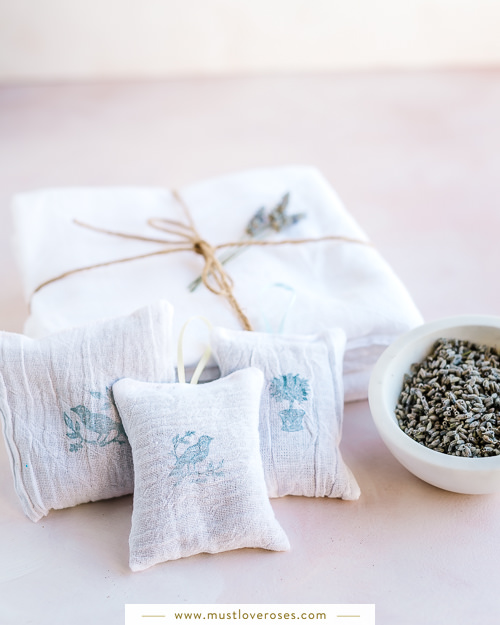
What to Do With Dried Lavender
Now that you have a ready supply of dried lavender buds, you can use them in a variety of fun ways! One of the best uses is to make heavenly scented lavender sachets. A quick and easy way to make lavender sachets is to use pre-made sachets such as these cute embroidered sachets from Amazon to fill them with.
I buy bundles of small cotton muslin drawstring sachets from Amazon to fill them with and decorate to give away. I love to see the delight on people’s faces when I present these little gifts to them! I have a post on how to make Easy No-Sew Lavender Sachets DIY that use similar sachets and can be personalized with no sewing. They make such wonderful and special gifts, especially when personalized with your friend’s initials! I also have a post on How to Make Lavender Sachets that does require a tiny bit of sewing but allows you to make them the exact size and that you want and with your fabric of choice! Here’s an example of these sachets below.
Other ways to use dried lavender buds include using them to make dryer bags to naturally freshen your clothes, making lavender eye pillows, and using them in homemade soaps, bath salts, lotions and creams. You can even try your hand at making your own lavender essential oil!
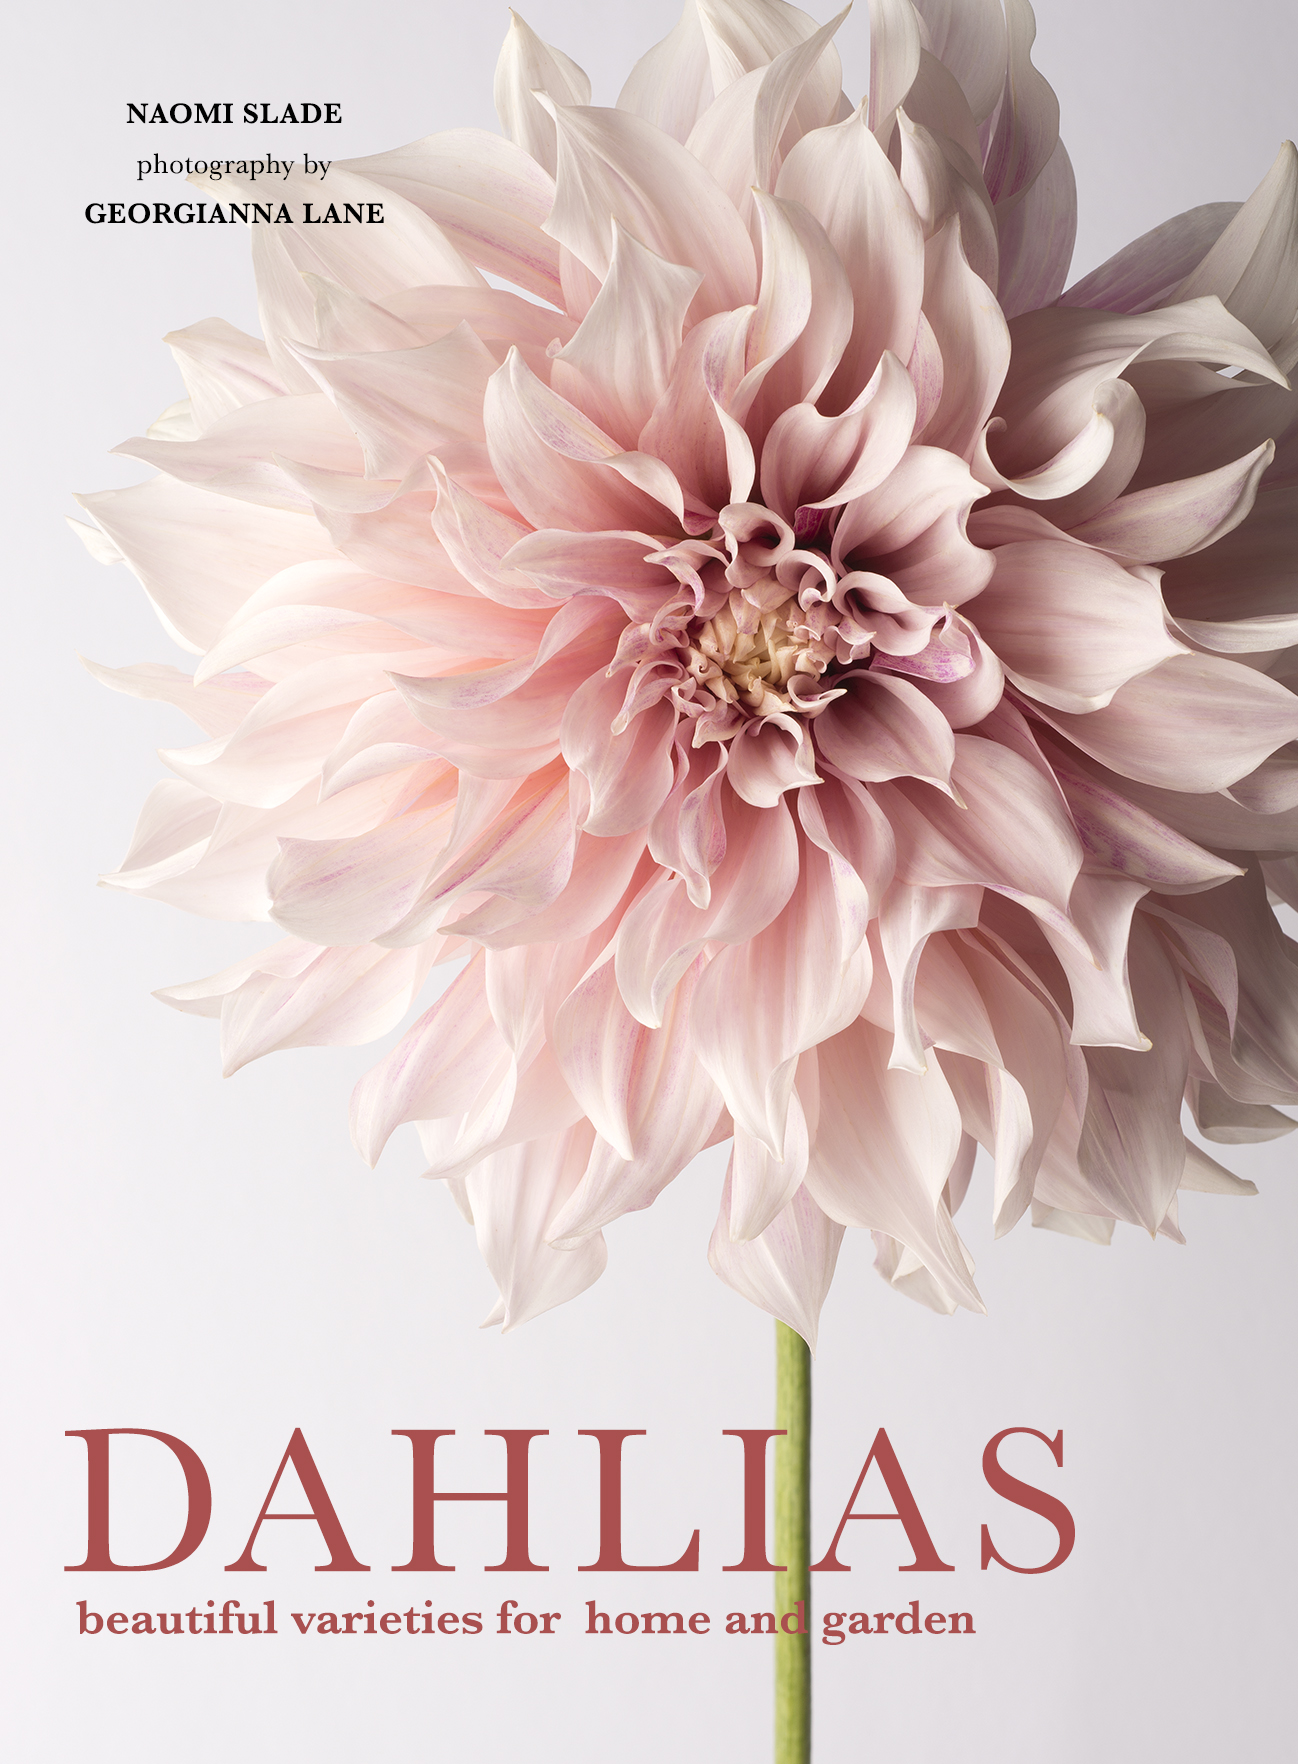
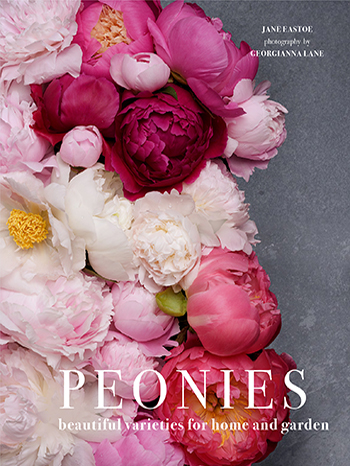
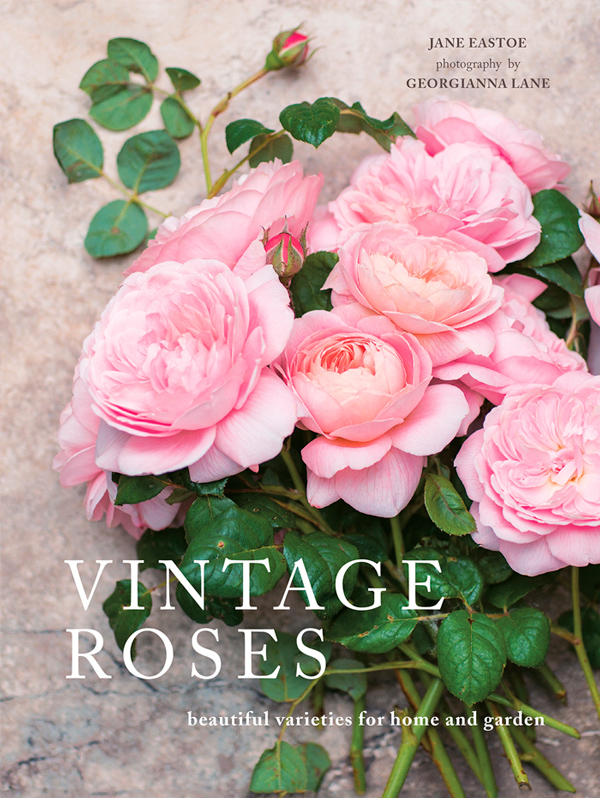
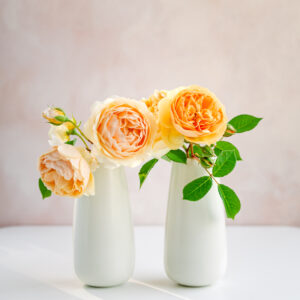
🌸 My Favorite Flower Books 🌸
Take a look at these beautiful books by my favorite photographer Georgianna Lane! (#AmazonAffiliate)
My YouTube Channel!
I’ve started a YouTube channel! If you love nature, flowers and gardens as much as I do, make sure to give me a follow there! 😊🌸🌿
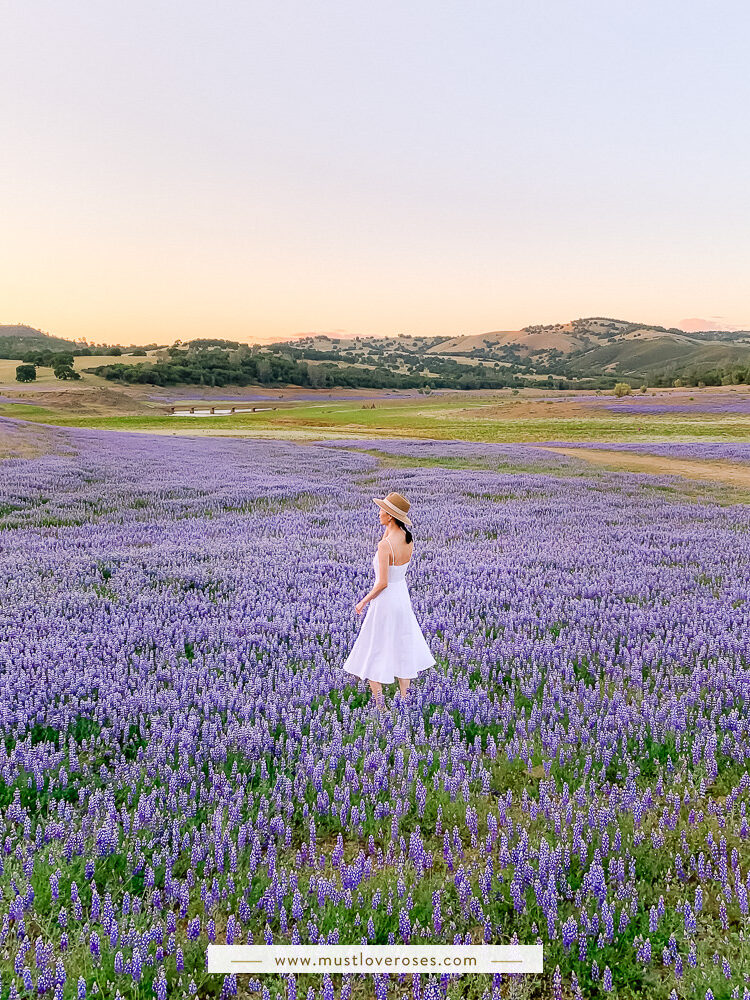
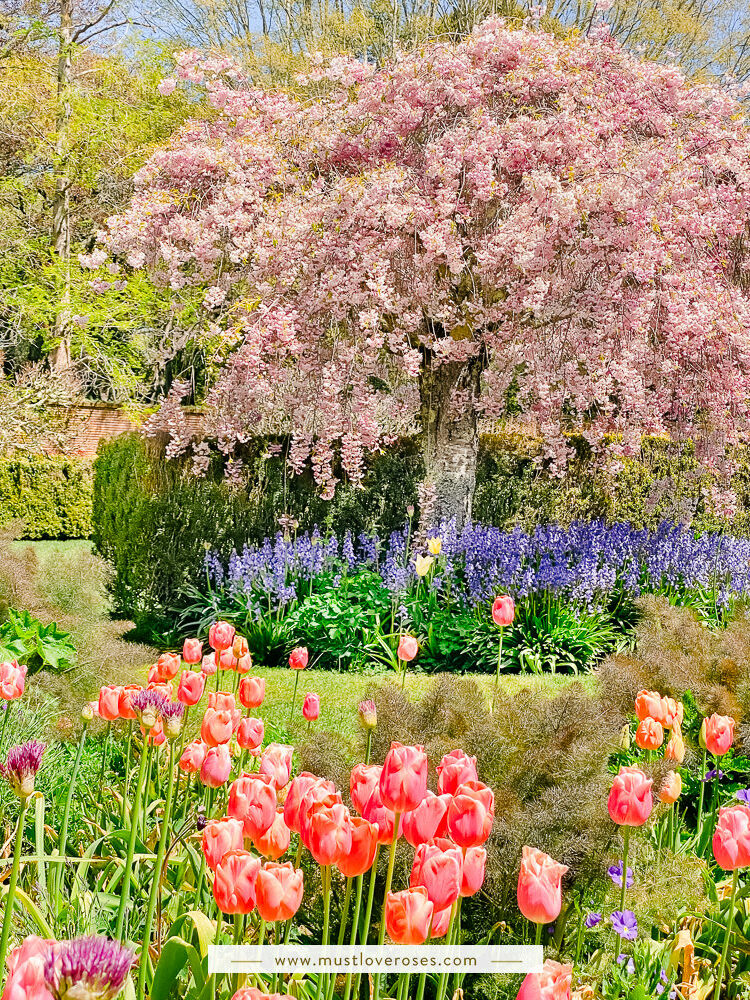
Step Inside the Most Beautiful Spring Garden!
Featuring the best of Spring Flowers at Filoli over the past 2 years! Tulips, cherry blossoms, daffodils and much more!🌸
Thank You!
Thank you for stopping by my blog! I hope you found this post useful, and I hope you have a wonderful day!
Pansy ❤️
Hi, I’m Pansy!
Hello, thanks for stopping by! I’m Pansy, a California-based photographer, flower & nature lover, and travel blogger. 🌸🌼🌿
I also have a YouTube channel where I feature beautiful gardens, parks & flower fields. Make sure to follow me there if you love flowers & gardens! 😊
If you’d like to contact me, please send me an email or DM me on Instagram!
Pansy ❤️
This looks so fun! What a great way to enjoy it in so many other ways!
Thanks for sharing! Does it keep long?
Yes! Once dried, they can retain their fragrance for years! 🙂